

Common Almond Pruning Mistakes and How to Avoid Them
The pruning mistakes that quietly cost almond trees light, airflow and yield — from wet-weather cuts to forgotten spur renewal — with practical fixes for each.
Common Almond Pruning Mistakes and How to Avoid Them
Pruning an almond tree is easy to do and just as easy to do badly. The cut takes seconds; the result stays in the canopy for years, showing up as shaded spurs, dead wood in the middle of the tree and a crop pushed to the outside where the light still reaches. Almonds are not as forgiving as a hedge or a shade tree. They carry much of their crop on short spurs produced on older wood, and those spurs need light and air to stay alive and productive. A tree can look neat after a hard winter prune and still be a poorer tree for it. Most mistakes are not dramatic. They are small misjudgments repeated year after year: cutting too much, cutting at the wrong time, leaving weak limbs to become big problems, or clearing the middle so aggressively that the remaining fruit wood is scorched and the tree answers with a forest of upright shoots. The good news is that these mistakes are predictable. Once you know what to look for, you can avoid most of them and make pruning a modest annual correction rather than an emergency rescue.
Mistake 1: Pruning Too Hard
Over-pruning is the most common error, especially on young trees. Almonds respond to heavy cutting with vigorous growth. Remove a large share of the canopy and the tree pushes long, upright water sprouts instead of settling down to form fruiting spurs. The immediate result can look tidy; the long-term result is a tree that delays cropping, produces shade-casting shoots and becomes harder to manage each year. Heavy dormant pruning can also expose bark to sunburn and make the tree more vulnerable to stress.
A useful example is the young tree cut back by a third every winter because it looks “leggy.” It may grow a fine frame of branches, but it often spends its energy rebuilding wood rather than forming spurs. A better approach is to remove dead, diseased, damaged and crossing branches first, then thin only enough to keep light moving through the canopy. As a rough guide, avoid removing more than about a fifth to a quarter of a mature tree’s canopy in one dormant prune, and be even more cautious with young or stressed trees. If a tree needs serious restoration, spread the work over two or three seasons.
Mistake 2: Pruning at the Wrong Time
Timing matters because almonds break dormancy early and because pruning wounds are open doors. In many climates, the safest window is late winter, after the worst cold has passed but before bloom. Pruning during wet weather can increase the risk of silver leaf and bacterial canker in susceptible regions, while pruning in hard frost can lead to dieback around the cuts. Pruning at bloom is best avoided; the tree is busy, the blossoms are fragile and the work can interfere with pollination.
Dead or diseased wood can be removed whenever you see it, provided the weather is dry and the tools are clean. Summer pruning can be useful for slowing vigor or removing water sprouts, but late summer pruning may encourage soft growth that does not harden before winter. Local conditions matter more than a calendar slogan. The worst time is usually wet, freezing or blooming weather; the best time is a dry, mild spell when the tree is still dormant or just beginning to wake.
Mistake 3: Ignoring Structure While the Tree Is Young
Almond trees are often trained to an open center or a modified central leader, depending on the region and orchard system. Whatever the system, the early years are when the framework is set. A common mistake is to let two or three equal-sized limbs compete from the same point, or to leave scaffold branches crowded together with narrow crotch angles. These narrow unions may look strong when the tree is small, but under a heavy crop they can split. A pencil-thin competing shoot is easy to remove; an arm-thick limb with bark included in the crotch is a repair job.
Choose a few well-spaced scaffold limbs with wide angles and remove competing shoots while they are small. Keep permanent limbs distributed along the trunk rather than clustered in one whorl. Step back often and look at the tree from several sides. A cut the width of a pencil is a training cut; a cut the width of your arm is usually a correction. Good pruning is largely about making small corrections early so that large corrections are never needed.
Mistake 4: Poor Cuts: Stubs, Flush Cuts and Torn Bark
The quality of the cut matters as much as the choice of branch. Leaving a long stub creates dead wood that can decay back into the tree. Cutting flush against the trunk removes the branch collar, the natural zone of healing tissue, and makes a larger wound that closes slowly. Tearing bark by letting a heavy limb fall before the final cut is finished creates ragged wounds that are slow to seal and easy for disease to enter.
Cut just outside the branch collar, not into it, and do not leave a stub. For a large limb, use the three-cut method: make an undercut first, then a top cut farther out to remove the weight, then a final clean cut at the collar. Keep tools sharp and clean. Sanitize blades between trees when disease is present, and remove diseased prunings from the area rather than leaving them under the canopy. Wound paint is not usually necessary, but local advice may vary where specific diseases are a serious concern.
Mistake 5: Removing Too Much Fruiting Wood
Almonds bear on short spurs, and those spurs are the future crop. A common mistake is to “clean out” the interior by removing every inward-growing branch and every piece of older wood that does not look productive. The result may be an open canopy, but it can also be an empty one. Spurs that are shaded for several seasons weaken and die, and the crop shifts to the outside where the light reaches. Then the tree is pruned harder to force light in, and the cycle continues.
Thin selectively rather than stripping. Remove crowded, weak, dead and rubbing branches, and take out the strongest upright water sprouts, but retain healthy spur-bearing wood through the middle of the tree. The goal is not an empty middle; it is a middle with enough light and air to keep spurs alive. A canopy that looks slightly open with dappled light is usually better than one that looks surgically hollowed out.
Mistake 6: Letting Suckers and Water Sprouts Take Over
Rootstock suckers and vigorous upright water sprouts compete with the fruiting canopy for water, nutrients and light. They also shade the spurs that should be carrying the crop. The mistake is to let them grow for a season or two because they seem harmless, then cut them back with a stub that sprouts again. Tipping a water sprout often makes it branch, turning one problem into several.
Remove suckers and water sprouts when they are small, either by hand when they are still green or with a clean cut at the base. If a mature tree suddenly produces many water sprouts, treat that as a signal. It may mean the tree was over-pruned, the canopy is too dense, or the tree is reacting to stress. Remove the shoots, but also correct the cause rather than repeating the same hard prune next winter.
Mistake 7: Pruning Without a Plan or Clean-Up
Random heading cuts made without a plan produce a busy outline and little useful structure. Walk around the tree before making the first cut. Decide what is dead, what is diseased, what is crossing, what is too low, what is competing and what should stay. Then work in a sequence instead of snipping at whatever catches your eye. Clean up as you go, and disinfect tools when moving between trees with disease symptoms.
Prune for light, air and a durable frame — not for a tidy silhouette.
A Simple Annual Pruning Routine
- Inspect the tree from several sides and identify the permanent framework, the fruiting wood and any obvious problems.
- Remove dead, diseased and damaged wood first, cutting back to healthy wood and clean tissue.
- Remove rootstock suckers and strong water sprouts before they get large.
- Remove crossing, rubbing and weak narrow-angled branches that will become future breakage points.
- Thin the canopy modestly so light can reach the spurs, then step back and check the balance before making more cuts.
- Clean tools, dispose of diseased prunings and leave the tree looking slightly thinner rather than stripped.
Most years, that routine is enough. If the tree is drought-stressed, diseased or recovering from a poor season, do less rather than more. Pruning is a drain on reserves, and a stressed tree does not need a major renovation on top of its other problems.
What Good Pruning Looks Like
- Light falls into the canopy and dapples the interior rather than stopping at the outer shell.
- The tree has a clear, durable framework with well-spaced limbs and wide angles.
- Healthy fruiting spurs remain throughout the canopy, not only at the edges.
- There are few stubs, flush cuts or torn bark.
- Vigorous upright shoots are limited, and suckers are removed early.
- The tree looks slightly thinner after pruning, not severely reduced.
Good pruning is conservative. The best pruner often makes fewer cuts than expected, because the aim is to guide the tree rather than dominate it. The cut takes seconds; the result stays in the canopy for years. Make those seconds count.
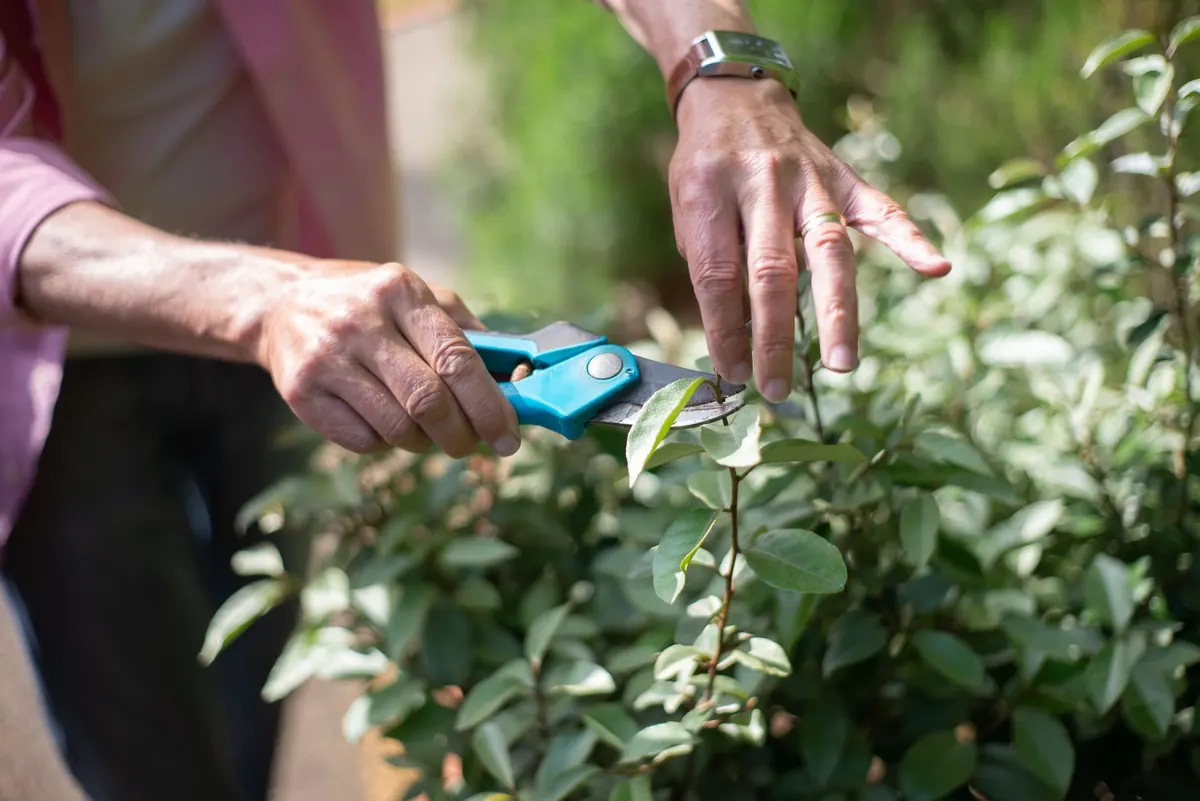
Photo: Kampus Production / Pexels